Creamy Chocolate Pudding Cups
Highlighted under: Wholesome Sweet Bakes
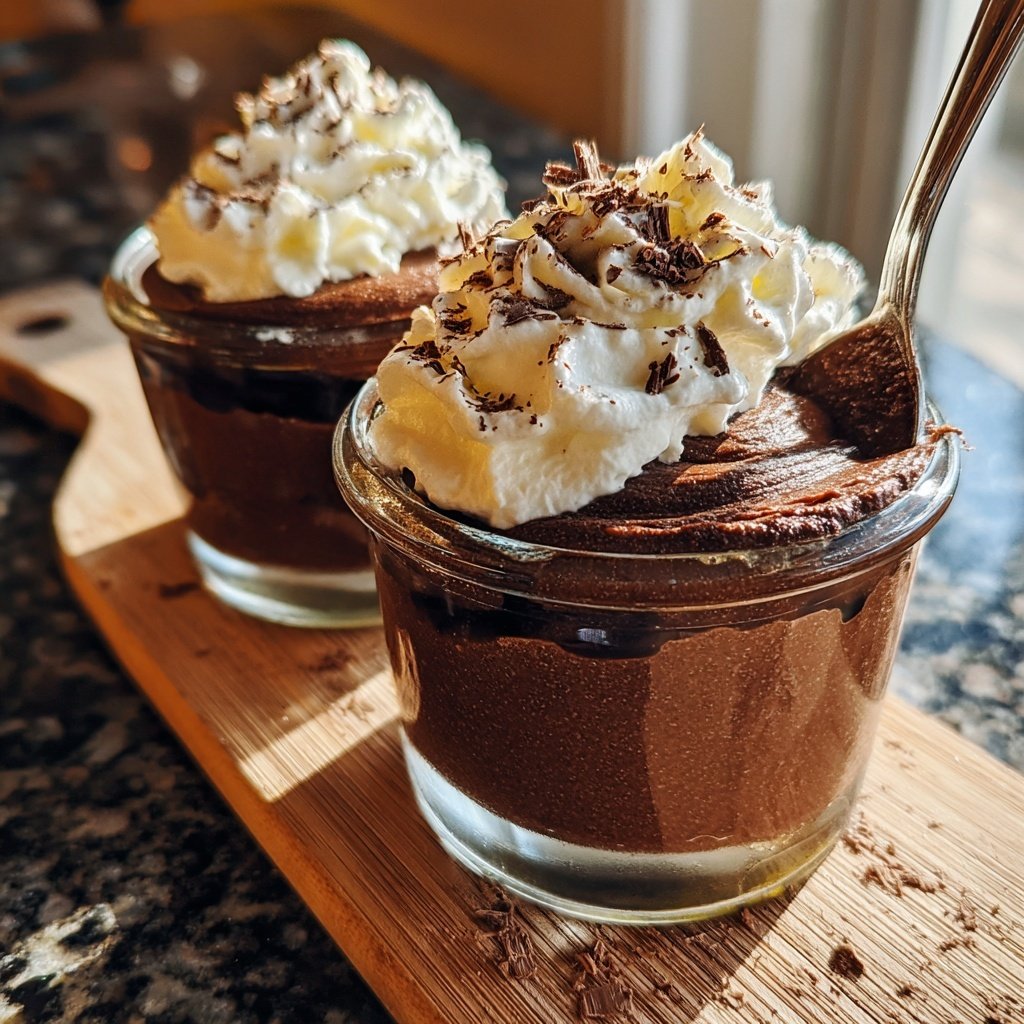
I absolutely love making these Creamy Chocolate Pudding Cups; they’re the perfect treat for satisfying my chocolate cravings. The rich, velvety texture is irresistible, and I can't resist indulging in them on special occasions or even as an after-dinner dessert. Each spoonful is packed with deep chocolate flavor, and they’re surprisingly simple to prepare. No baking is required, making them an easy choice for entertaining guests or enjoying a quiet night in. Trust me, you'll want to keep this recipe on hand at all times!
When I first whipped up these Creamy Chocolate Pudding Cups, I was astounded by how easy it was to achieve such a gourmet dessert. The secret is in the combination of high-quality cocoa powder and a touch of vanilla extract, which elevates the flavor to new heights. I remember thinking that this might just be the best chocolate pudding I've ever had!
One trick I learned is to allow the pudding to cool in the refrigerator for at least an hour before serving. It gives the flavors a chance to meld beautifully. Plus, serving them in individual cups adds a nice touch, making it feel special even on a casual weekday!
Why You'll Love This Recipe
- Silky smooth texture that's simply irresistible
- Intensely rich chocolate flavor that satisfies any sweet tooth
- Easy to make ahead for gatherings or unexpected guests
Mastering the Pudding Consistency
Achieving the perfect consistency for your chocolate pudding is crucial to its success. When cooking the mixture over medium heat, it’s essential to stir constantly. This prevents the pudding from sticking to the bottom of the pan and creates an even, smooth consistency. Look for the mixture to begin thickening after about 5 minutes; it should coat the back of a spoon without running off too easily. If you notice lumps forming, whisk vigorously until they disappear before continuing to cook.
The key to a velvety texture lies in the mixing and cooking stages. After incorporating the milk into the dry ingredients, I suggest using a whisk for the initial blending as it prevents any dry pockets of cornstarch or cocoa from settling. Once on the heat, switch to a heat-resistant spatula to scrape the bottom of the saucepan. This ensures everything cooks evenly and helps you achieve a glossy finish when the pudding is done.
Ingredient Insights
Each ingredient plays a vital role in the success of this pudding. The unsweetened cocoa powder not only infuses rich chocolate flavor, but also contributes to the pudding's color and depth. If you prefer a darker chocolate taste, consider using Dutch-processed cocoa, which results in a smoother, less acidic flavor. However, for a more classic chocolate pudding taste, unsweetened cocoa is the way to go.
The use of whole milk is essential for a luxuriously creamy texture. If you’re looking for a lighter option, you can substitute 2% milk, but this may yield a slightly thinner pudding. To make this recipe dairy-free, opt for a cream alternative like coconut milk; keep in mind that this will add a subtle coconut flavor that pairs wonderfully with chocolate.
Serving Suggestions and Variations
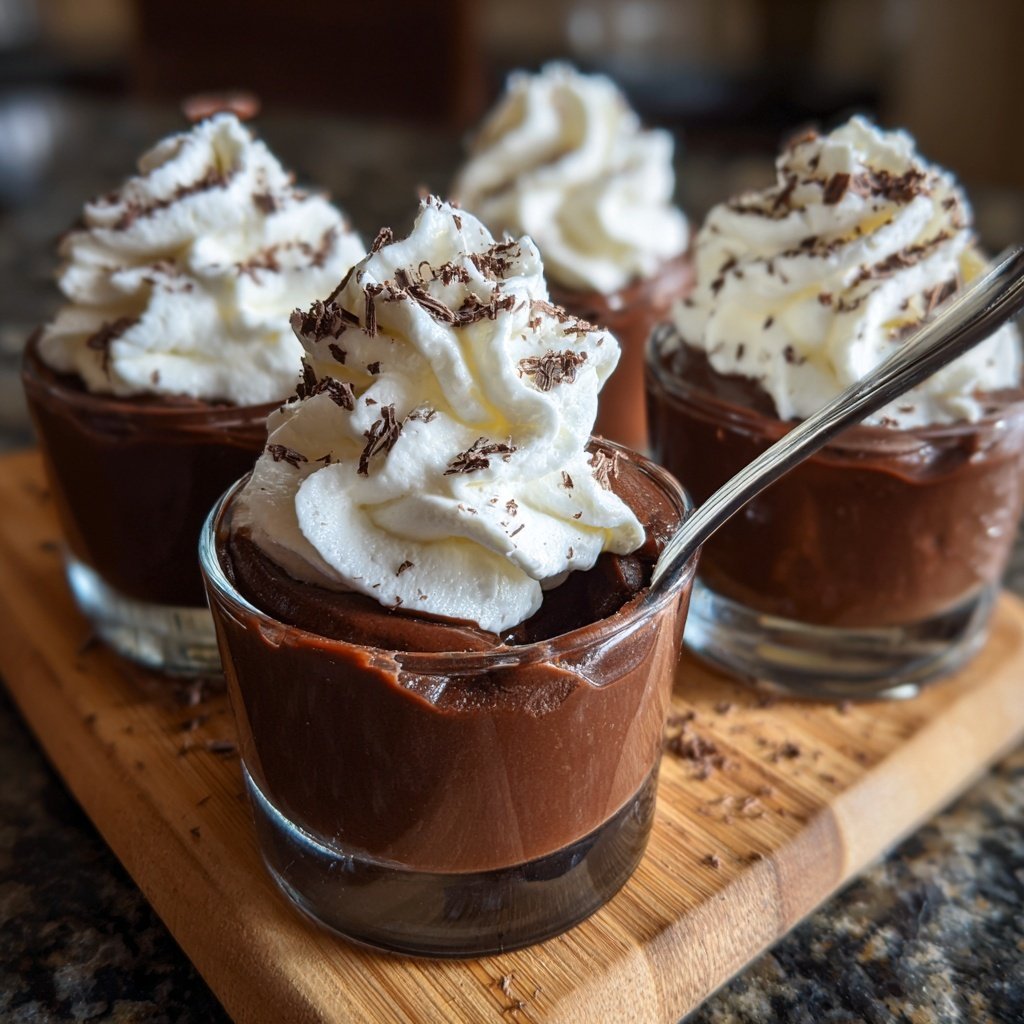
When it comes time to serve your pudding, the optional toppings can elevate it from delicious to extraordinary. A dollop of freshly whipped cream not only adds a light texture but also balances the richness of the chocolate. For extra flair, sprinkle chocolate shavings or grated dark chocolate on top for a delightful crunch. Fresh berries, such as raspberries or strawberries, provide a refreshing tartness that enhances the overall flavor profile of the dessert.
Consider turning these pudding cups into a layered dessert by incorporating crushed graham crackers or cookie crumbles between layers of pudding. This not only adds texture but also creates a beautiful presentation. You could also infuse the pudding with different flavor extracts, like almond or orange, for a unique twist. Just remember to adjust the quantities so they don't overwhelm the chocolate taste.
Ingredients
Ingredients
For the Pudding
- 1/2 cup granulated sugar
- 1/3 cup unsweetened cocoa powder
- 3 tablespoons cornstarch
- 1/4 teaspoon salt
- 2 3/4 cups whole milk
- 2 tablespoons unsalted butter
- 1 teaspoon vanilla extract
For Topping (Optional)
- Whipped cream
- Chocolate shavings
- Fresh berries
Mix the dry ingredients well to ensure a smooth pudding texture.
Instructions
Instructions
Prepare the Dry Mixture
In a medium saucepan, whisk together the sugar, cocoa powder, cornstarch, and salt until well combined.
Combine with Milk
Gradually add the milk to the dry mixture, whisking continuously to avoid lumps.
Cook the Pudding
Cook over medium heat, stirring constantly until the mixture thickens and comes to a gentle boil, about 8-10 minutes.
Add Butter and Vanilla
Remove from heat and stir in the butter and vanilla extract until fully melted and incorporated.
Chill the Pudding
Transfer the pudding into cups and refrigerate for at least one hour to set.
Serve
Top with whipped cream, chocolate shavings, or fresh berries if desired, and enjoy!
Be sure to cover the pudding with plastic wrap if you're chilling it overnight.
Pro Tips
- Using high-quality cocoa powder will deepen the chocolate flavor significantly. Don’t skip the chilling step, as it ensures the best texture.
Storage and Make-Ahead Tips
These creamy chocolate pudding cups can be made a day in advance, making them perfect for entertaining. After cooling, cover them with plastic wrap to prevent a skin from forming on the surface. Store in the refrigerator until you're ready to serve. They can last up to 3 days in the fridge, but I recommend enjoying them within the first 48 hours for the best texture and flavor.
If you have leftover pudding, consider using it as a filling for pastries or as a cake layer. It can be piped into cupcakes or layered between sponge cakes for a decadent dessert. Just ensure to re-stir the pudding to regain its creamy texture before use.
Troubleshooting Common Issues
If your pudding doesn't thicken as expected, it may be due to insufficient cooking time or not adequately stirring. Remember, the pudding thickens as it comes to a gentle boil. If you encounter lumps after cooking, you can pass your pudding through a fine mesh sieve to achieve a silky finish. For a hurried solution, you can mix a little cornstarch with some cold milk to create a slurry and stir that in over heat until thickened.
In case you find your pudding too thick after chilling, simply whisk in a little milk to loosen it. Conversely, if it's too runny from the start, return it to the heat, continue stirring, and let it cook a bit longer until it reaches the desired consistency. Don’t be discouraged; sometimes it takes trial and error to perfect your technique!
Questions About Recipes
→ Can I make this pudding dairy-free?
Yes, you can substitute whole milk with almond milk or a similar dairy-free alternative.
→ How long can I store the pudding?
The pudding can be stored in the refrigerator for up to three days in an airtight container.
→ Can I use a different sweetener?
Yes, you can substitute granulated sugar with coconut sugar or a sugar alternative, though it may change the flavor slightly.
→ Is it possible to make this pudding vegan?
You can use almond milk and a vegan butter substitute to make this pudding vegan-friendly.
Creamy Chocolate Pudding Cups
Created by: Maisie Clarke
Recipe Type: Wholesome Sweet Bakes
Skill Level: Intermediate
Final Quantity: 4 cups
What You'll Need
For the Pudding
- 1/2 cup granulated sugar
- 1/3 cup unsweetened cocoa powder
- 3 tablespoons cornstarch
- 1/4 teaspoon salt
- 2 3/4 cups whole milk
- 2 tablespoons unsalted butter
- 1 teaspoon vanilla extract
For Topping (Optional)
- Whipped cream
- Chocolate shavings
- Fresh berries
How-To Steps
In a medium saucepan, whisk together the sugar, cocoa powder, cornstarch, and salt until well combined.
Gradually add the milk to the dry mixture, whisking continuously to avoid lumps.
Cook over medium heat, stirring constantly until the mixture thickens and comes to a gentle boil, about 8-10 minutes.
Remove from heat and stir in the butter and vanilla extract until fully melted and incorporated.
Transfer the pudding into cups and refrigerate for at least one hour to set.
Top with whipped cream, chocolate shavings, or fresh berries if desired, and enjoy!
Extra Tips
- Using high-quality cocoa powder will deepen the chocolate flavor significantly. Don’t skip the chilling step, as it ensures the best texture.
Nutritional Breakdown (Per Serving)
- Calories: 380 kcal
- Total Fat: 26g
- Saturated Fat: 15g
- Cholesterol: 195mg
- Sodium: 85mg
- Total Carbohydrates: 32g
- Dietary Fiber: 3g
- Sugars: 24g
- Protein: 6g